
Super Fresh
Harvested and shipped within days when you order.
Fair Prices
We eliminate extra steps so you get better value.
Rated for Real Life
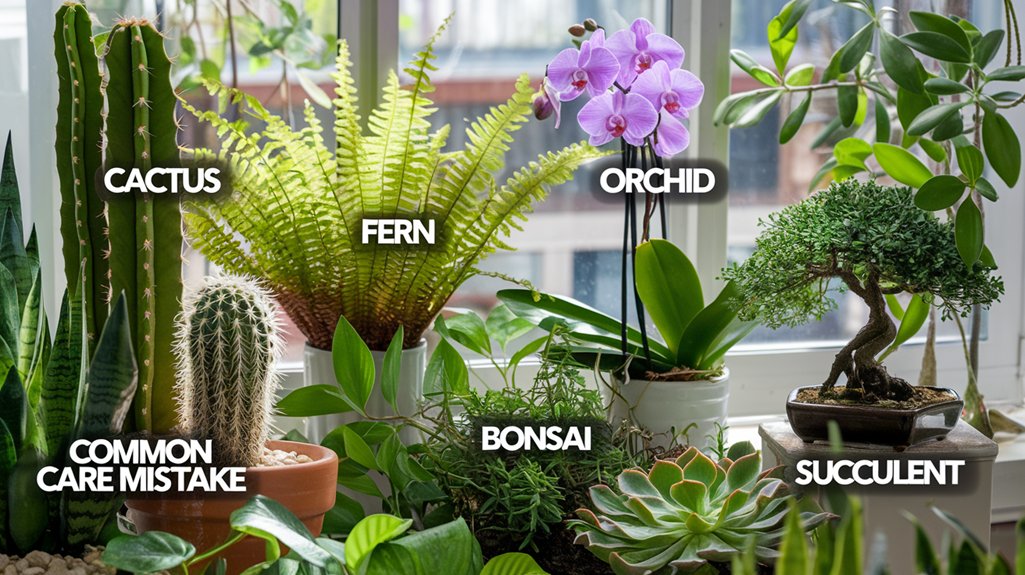
Clearly labeled so you can choose the right plant fast.
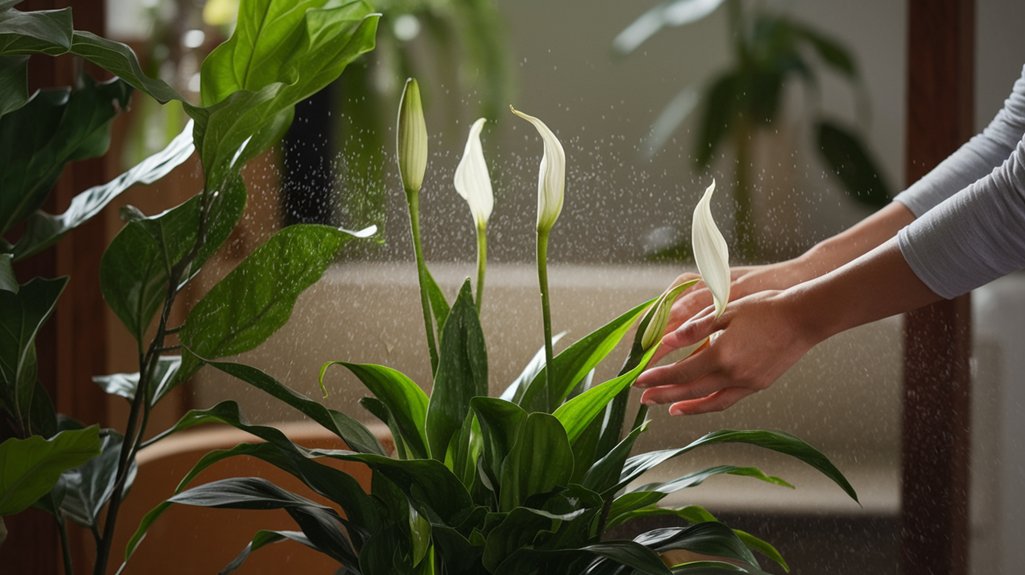
To revive a dying Peace Lily, first identify distress signs like brown leaves from overwatering or yellow leaves from underwatering. Trim dead roots and repot in well-draining soil, making certain the top inch dries before watering. For persistent drooping, soak the plant, then let excess water drain. Routine inspections for pests and proper light conditions are essential. Your dedication to routine care will guarantee your Peace Lily flourishes, with more insights just ahead.
When should you start worrying about your peace lily’s health? It’s crucial to monitor for signs of distress.
Discoloration in leaves is a primary indicator; brown leaves often signal excess water, while yellow leaves suggest underwatering. Leaf drooping can result from inconsistent watering practices or root distress due to poor drainage.
Additionally, watch for signs of pests like mealybugs or fungus gnats, as they can worsen the plant’s condition if ignored.
Examine the roots to gain insights into your peace lily’s overall health. Problems frequently begin there, and prompt attention can facilitate recovery.
Spotting signs of distress is just the beginning; addressing the root cause is where healing starts. Brown leaves often signal overwatering, hinting at potential root rot from excessive soil moisture.
Examine if your pot has adequate drainage holes. Without them, water can accumulate, leading to root suffocation and decay. Repotting in fresh, well-draining soil and trimming dead or mushy roots encourages recovery.
Guarantee the top inch of soil dries out before you water again, allowing roots to breathe and minimizing fungal threats. Monitor your watering schedule diligently, keeping the soil moist but not soggy.
This balance provides necessary oxygen to the roots and promotes the overall health of your peace lily, preventing future overwatering issues.
Reviving an overwatered peace lily involves several essential steps.
First, repot the peace lily using fresh, well-draining soil to eliminate excess moisture and enhance root aeration. During repotting, carefully trim away any dead or mushy roots to prevent further decay and promote new growth.
To guarantee the Peace Lily’s recovery, follow these steps:
These precise steps can nurture your peace lily back to health.
How can you tell if your peace lily is thirsty and in need of a drink? Recognizing underwatering symptoms is key.
First, observe the leaves: yellowing that progresses to brown tips suggests insufficient moisture. Droopy and wilted leaves are another clear indicator that your plant is struggling to maintain its structure due to lack of water.
To confirm, check the soil moisture. If the top inch of soil feels dry to the touch, it’s a sign your peace lily needs watering. Regularly monitoring these signs helps prevent dehydration.
When your peace lily shows signs of thirst, it’s critical to act swiftly to rehydrate it effectively. Start by soaking the plant in its pot for about one hour, allowing the roots to absorb the necessary moisture.
Be sure to drain any excess water afterwards to avoid root rot, guaranteeing the soil stays moist but not soggy. Place your peace lily back in a location with bright indirect sunlight to foster its recovery.
To prevent future underwatering and support your peace lily’s health, follow these steps:
To guarantee your peace lily flourishes, you must provide it with the right light and temperature conditions.
These plants thrive in bright, indirect sunlight. Direct sunlight can cause leaf burn, so position them where they receive dappled light.
Ideal temperature conditions range from 55° to 65° F at night and 60° to 75° F during the day. Consistent warmth is vital, so avoid areas with cold drafts or sudden temperature variations.
Peace lilies are native to tropical forests, so they also appreciate high humidity. Proper light and temperature conditions are fundamental not just for survival but also for encouraging blooming.
With the best care, expect your peace lily to flower in early spring, showcasing its resilience and beauty.
While providing ideal light and temperature conditions is fundamental, mastering proper watering techniques is equally important for nurturing a healthy peace lily.
Water your peace lily weekly, guaranteeing the soil is moist but not soggy. Overwatering can lead to brown leaves and root issues, so make certain the pot has ample drainage holes for excess water to escape.
It’s vital to let the top inch of well-draining soil dry out before watering again to provide the roots with adequate oxygen.
If you notice underwatering signs, like wilting leaves, soak the plant in its pot for about an hour.
Here are key watering tips:
Repotting your peace lily is essential for its health and growth, and choosing the right pot and soil is key to success.
Start by selecting a pot that’s slightly larger than the current one—ideally up to two inches wider. This allows room for root expansion without risking water retention issues. Make sure the pot has ample drainage holes to prevent water accumulation, which can lead to root rot.
Opt for a light, porous potting soil mixed with perlite or chopped bark to enhance drainage and aeration. Replace the entire potting mixture during repotting to eliminate potential diseases or pests.
Always choose a clean, fresh container to avoid transferring harmful pathogens or pests to your peace lily, guaranteeing a healthy shift.
After confirming your peace lily has the right pot and soil, focus on effective fertilization to maintain its vigor.
Use a general-purpose houseplant fertilizer with a balanced 20-20-20 ratio. This guarantees your plant receives essential nutrients.
Fertilize at half-strength in early spring and mid-summer, aligning with its natural growth cycle. Avoid fertilizing right after repotting, as fresh soil provides temporary nutrients.
Always water thoroughly after fertilizing to prevent root burn and evenly distribute nutrients. Watch for signs of nutrient deficiency like stunted growth or discoloration, and adjust your approach as needed.
To effectively manage pests and prevent infestations in your peace lily, begin by routinely inspecting the plant for common invaders like mealybugs and fungus gnats. These pests thrive in overwatered conditions, so adjust your watering schedule to maintain proper moisture levels. If you discover an infestation, isolate the plant immediately. Treat mealybugs by wiping them off with a damp cloth or applying Neem oil for persistent cases. Stick to a consistent treatment regimen for 14 days and monitor nearby plants closely to catch any re-infestation early.
| Pest | Treatment | Prevention |
|---|---|---|
| Mealybugs | Wipe, water spray, Neem oil | Proper watering schedule |
| Fungus gnats | Adjust watering | Avoid overly moist environments |
| Other pests | Appropriate treatment | Routine inspections |
Consistent care is essential for pest-free peace lilies.
By understanding the specific needs of your peace lily, you can effectively address its distress signals. First, diagnose watering issues, whether over or under, and take corrective steps to restore its health. Employ proper watering techniques and choose the right pot and soil for ideal growth. Regularly fertilize and manage pests to prevent infestations. With these precise actions, you’ll revive your peace lily, ensuring it thrives and continues to bring beauty to your space.